A personal favorite, anpan is a Japanese bread (pan) filled with sweet red bean paste (an). It is particularly popular with young children due to the character “Anpanman”.
My version of anpan isn’t 100% authentic, as some of my native Japanese friends have described them as more “buttery” than the anpan they are used to. Despite this, however, they have also said that it’s some of the best anpan they have ever had.
I’ve made my anpan this way over half a dozen times, and each time it has not failed to be a hit with friends and family. Please give it a try!
How to Make Anpan
Ingredients (Makes 12)
3 cups All-Purpose Flour
2 teaspoons Yeast
4 ½ tablespoons Sugar
1 ½ Egg
1 cup Water
1 teaspoon Salt
3 ½ tablespoons Butter
1 can of Koshi-an (Smooth Red Bean Paste)
Directions
Put the flour, yeast, sugar, and half the egg in a bowl. Add the water.
Turn the mixture out onto a floured board and knead for about 15 minutes.
Sprinkle in the salt and knead some more. Add the butter a little at a time, folding over to create layers. Knead another 15 minutes.
Let rest for 50-60 minutes. At the end of the 50-60 minutes, poke with your finger into the middle of the dough. If it stays down, the dough is ready.
Flatten dough to press out air, and cut into about 12 pieces. Roll into balls, and place under a towel for about 10 minutes.
Flatten a ball of dough in the palm of your hands, place a small scoop of koshi-an in the center of the dough and then gather all sides and pinch them together in the middle. When sealed, roll gently between your palms to make it round and put the sealed side onto your baking sheet.
Repeat until all the dough and koshi-an is used up.
Leave under a towel for another 40 minutes. When finished, coat the top of each anpan with the remaining egg.
Preheat your oven to 400 degrees Farenheit and bake for 8-12 minutes.
These taste good hot or cool, but give them some time to cool a little out of the oven if serving while still warm because the red bean paste can get extremely hot and burn one’s mouth/tongue.
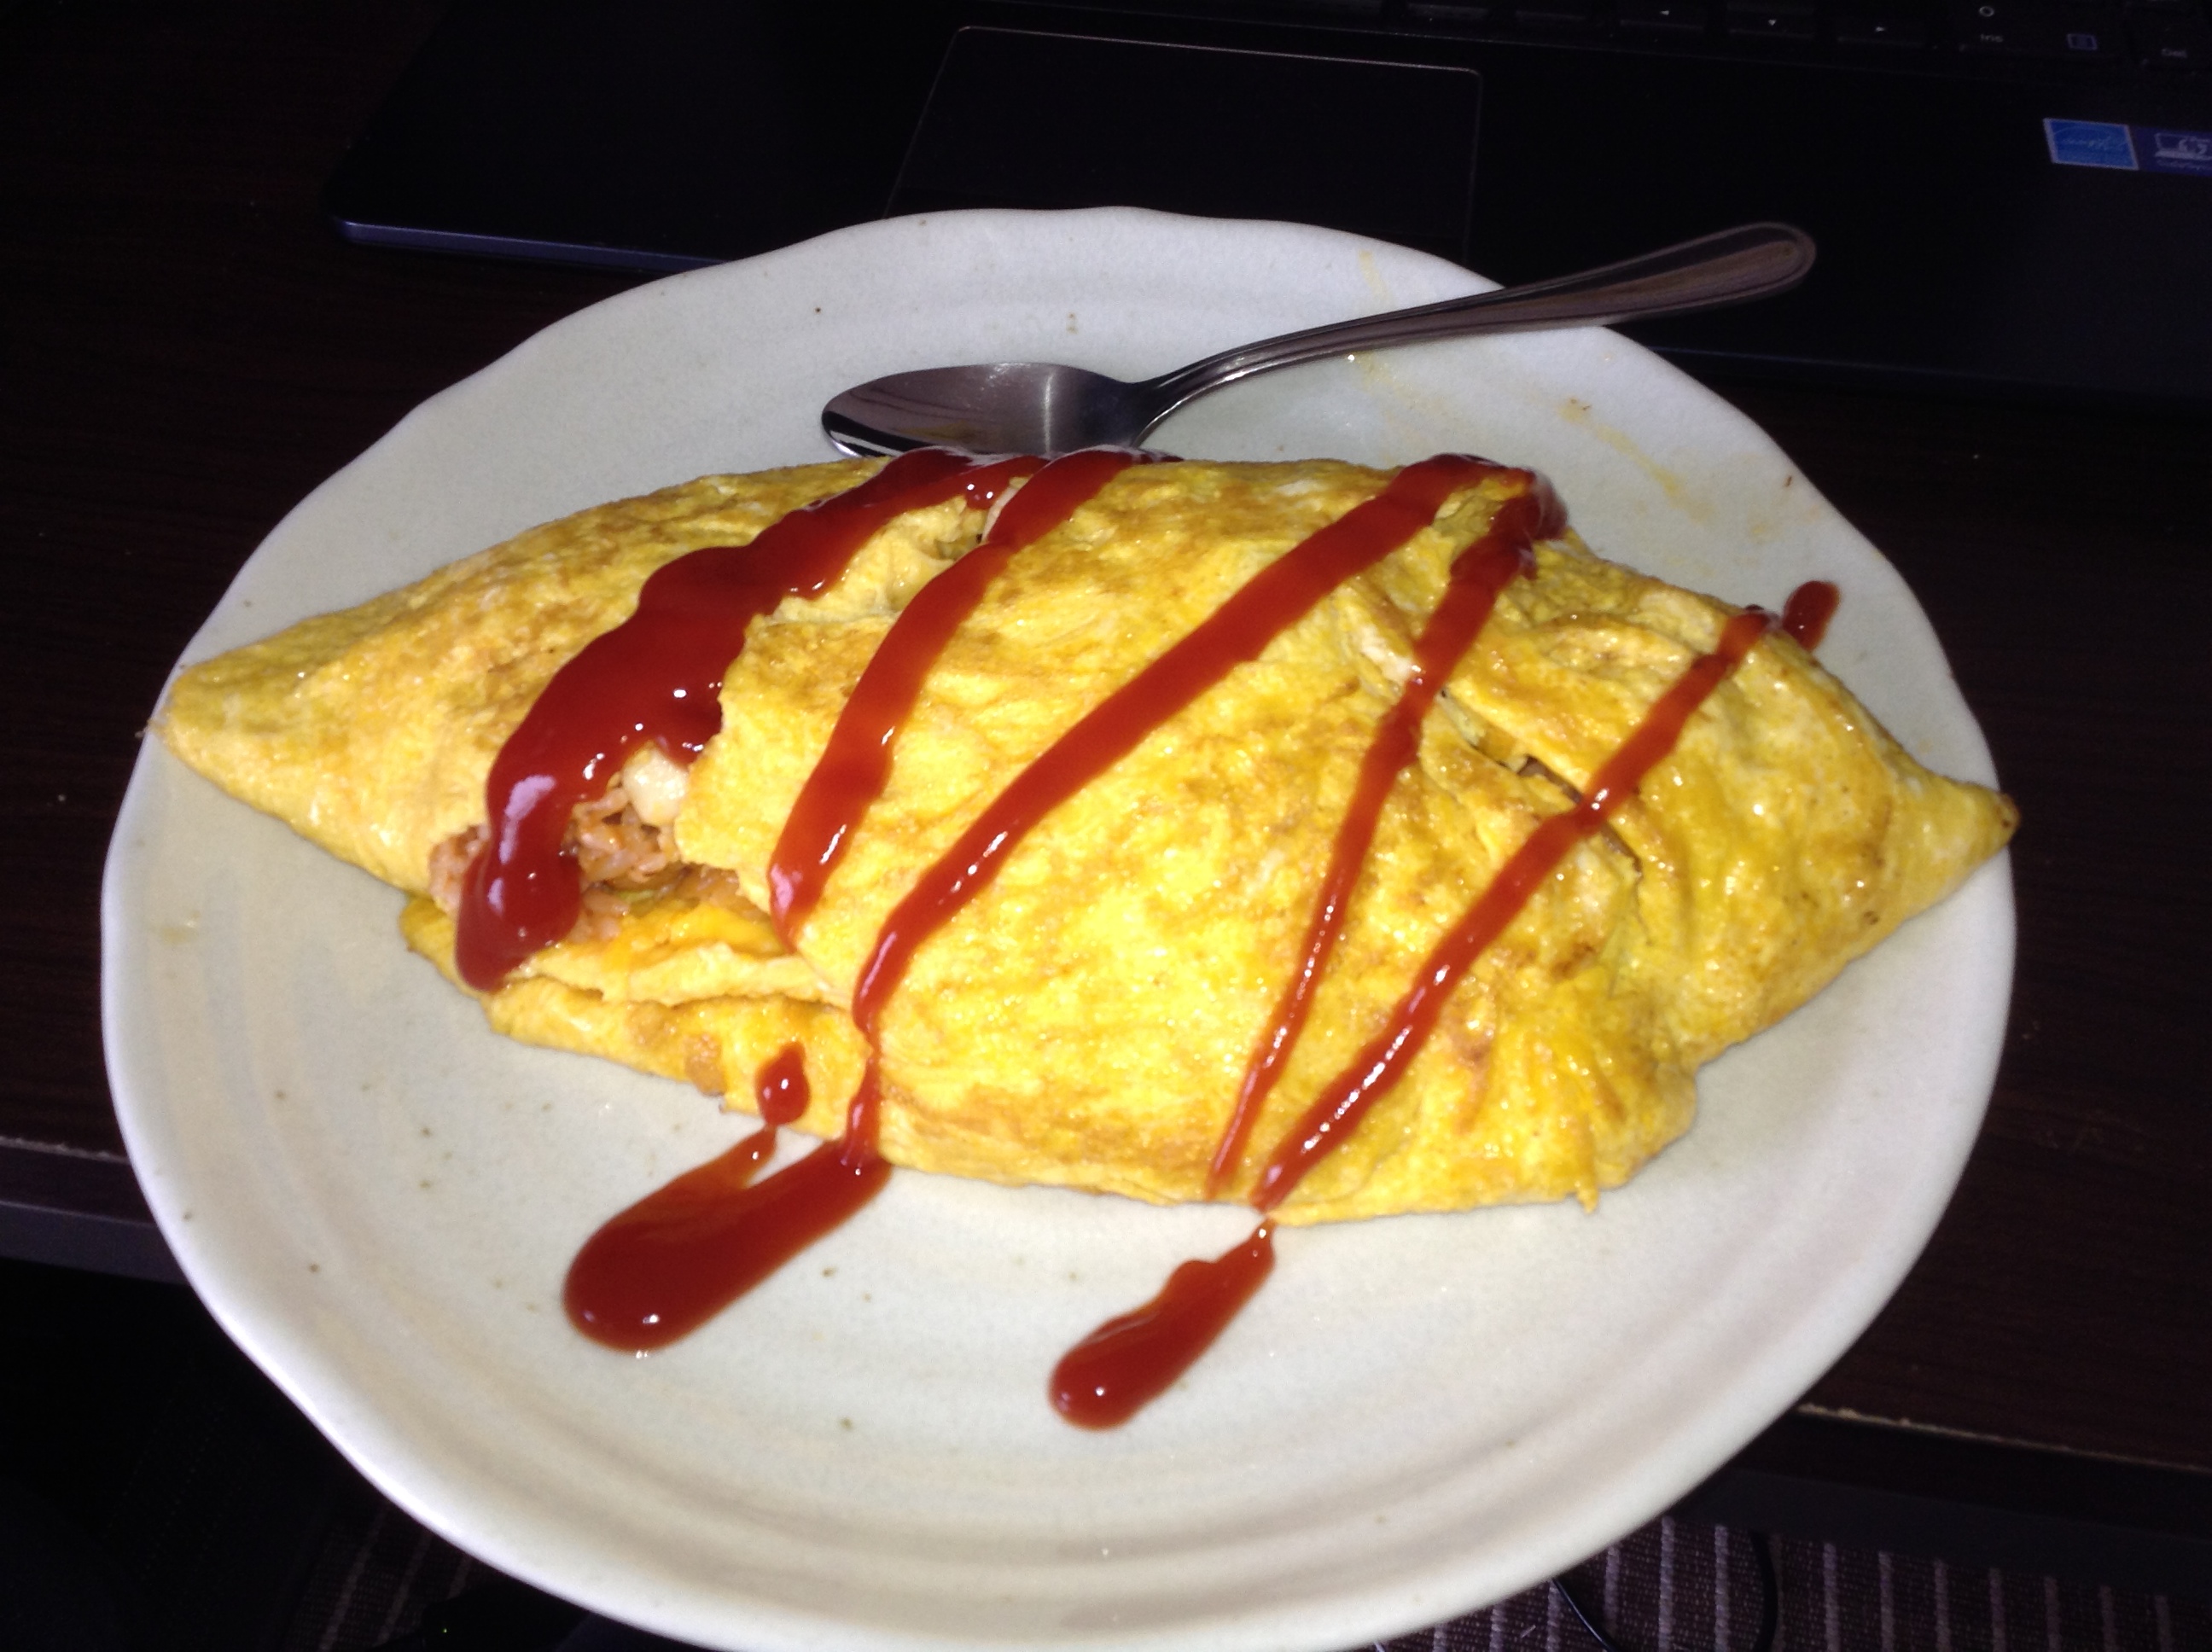
It’s been a while since I’ve made okonomiyaki, but I found myself in the mood today.
For those who don’t know, okonomiyaki is a Japanese savory pancake containing a variety of ingredients. The name is derived from the word okonomi, meaning “what you like” or “what you want”, and yaki meaning “grilled” or “cooked”. In other words, okonomiyaki are “whatever you want” pancakes, so the ingredients can vary depending on one’s tastes.
Okonomiyaki is mainly associated with Kansai or Hiroshima areas of Japan, but is widely available throughout the country. Toppings and batters tend to vary according to region.
As I said before, okonomiyaki can technically contain anything, but here is how I prefer to make mine. Feel free to adjust the Filling section with whatever you like!
1 sheet Nori (roasted seaweed), Crumbled or cut into small pieces
¼ cup Katsuoboshi (bonito flakes)
Directions
Sift the flour into a bowl. Add and mix the water or dashi, salt, and potato starch, stirring. Divide the batter between two bowls.
Put half the beef, pork, cabbage, and green scallion into each bowl. Break the eggs and drop one in the center of each bowl.
Heat a large skillet, add vegetable oil and swirl the skillet to coat the entire bottom. When the oil is hot, reduce the heat to medium. Mix the batter and the other ingredients in one of the bowls and pour all of the batter in that bowl into the skillet. Spread the batter into a large disk. Cook the pancake over medium heat until bottom is golden.
Turn the pancake over with the aid of two spatulas, press it to flatten the bottom, and cook the other side until golden.
Prepare the second pancake in the same way as the first.
Spread mayonnaise over the top of each pancake, then tonkatsu sauce. Sprinkle half of the nori and katsuoboshi on top.
Today I learned how to make a seasonal mochi, sakuramochi. We made two styles, Kanto and Kansai. Each time I learn how to make one of these, I’m surprised at how easy they are.
A crucial part of Japanese cooking, dashi is a key stock used as the base for a variety of dishes.
Although it is possible to buy dashi stock as is, it can sometimes be expensive and given how frequently it is used in Japanese cuisine, it’s much more cost efficient to make yourself – especially since it’s so easy, just a little time consuming.
Here is the basic recipe for all of your Japanese cooking needs!
How to Make Dashi
Ingredients
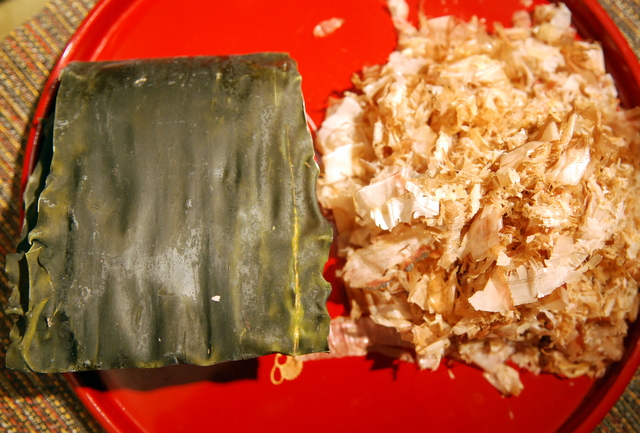
Konbu (Dried Kelp)
Katsuoboshi (Bonito flakes)
Konbu (Left) and Katsuoboshi (Right)
Directions
Heat up a large pot of water and add konbu that has been wiped with a damp towel. The amount of konbu to water is entirely up to you, but in my experience one piece of konbu tends to go a long way. Keep heat at medium and cook for 1 hour, scooping out any foam that forms.
After 1 hour, remove konbu and add katsuoboshi. Again, the amount of katsuoboshi to water is up to you. Cook for an additional 2-3 minutes. DON’T THROW AWAY THE KONBU! If stored well, it can be used again to make more dashi (though after that you should probably use new konbu).
Turn off heat and strain the katsuoboshi out of the dashi stock using a tightly knit cloth (standard sieve won’t work). DO NOT SQUEEZE THE KATSUOBOSHI! Let the liquid drain out naturally.